
— BY REMON — IN UX design
Design Thinking 101

As a designer, I’ve learned that creating a successful user experience is more than just designing a pretty interface. It’s about understanding the user’s needs and creating aesthetically pleasing but also functional and intuitive solutions. That’s where the Design Thinking process comes in. In this blog post, I’ll share my personal experiences with the Design Thinking process and explain how it can help you create better user experiences.
Before we dive into the nitty-gritty of the UX design thinking process, let’s take a step back and define what UX design is. UX, or user experience design, creates products such as websites or mobile apps that provide users with a seamless and enjoyable experience. This means that a good UX designer is always thinking about the needs and wants of the user and how to design a product that meets those needs most intuitively and efficiently. Now that we have a basic understanding of UX design let’s move on to the design thinking process.
The Design Thinking process
Is a methodology used in UX design to create user-centered solutions. It’s a five-step process that includes empathising with the user, defining the problem, ideating solutions, prototyping a solution, and testing the solution with users. This process helps designers create solutions that meet the user’s needs rather than just focusing on the aesthetics of the design.

Design Thinking is a process that involves several key steps, all geared towards understanding and meeting the user’s needs. Here are the main phases:
- Start with empathy: Take the time to deeply understand your user’s needs, motivations, and pain points.
- Define the problem: Frame the user’s needs as a problem statement rather than simply trying to meet stakeholder requirements.
- Ideate and prototype: Don’t be afraid to think outside the box and explore a range of ideas before narrowing down to the best.
- Test and iterate: Get user feedback and use that feedback to refine and improve your solution.
- Stay focused on the user: Throughout the design process, focus on the user’s needs and motivations.
To better understand the stages, let’s go through it with an example project, a mobile financial app for freelancers; we want to understand the unique financial challenges that freelancers face.
Empathise
The first step in the Design Thinking process is empathising with the user. This involves understanding the user’s needs, goals, and pain points. To truly empathise with our users, we may need to conduct interviews or surveys with freelancers to gather information about their financial habits and concerns. We can also gather insights by observing freelancers’ work environments and identifying areas where they may need financial support.
Here are some methods you can follow to implement the Empathize phase in your project:
- Conduct user interviews: Schedule one-on-one interviews with users to get to know them better. Ask open-ended questions to encourage them to share their thoughts, feelings, and experiences about your product or service.
- Observe user behaviour: Watch users interact with your product or service in real time. Please note how they navigate your website, which features they use most, and any pain points they experience.
- Develop empathy maps: Use empathy maps to visualise your users’ thoughts, feelings, and behaviours. Empathy maps help you to see the world from your users’ perspective and identify opportunities to improve your product or service.
- Conduct user surveys: Create a survey to gather quantitative data about your users’ needs, preferences, and pain points. Use this data to supplement your qualitative research and gain a more well-rounded understanding of your users.
By gathering this information, we can develop a deep understanding of our user’s needs, motivations, and pain points and use this knowledge to inform our design decisions moving forward. So now let’s dive in with the example project Project: Designing a mobile financial app for freelancers.
Conduct user interviews:
Start by talking to freelancers in your network or online communities to gain insights into their financial habits and pain points.
Ask open-ended questions such as:
- How do you currently manage your finances as a freelancer?
- What are some of the biggest challenges you face in financial management?
- What tools or apps do you now use for financial management?
Observe user behaviour:
Observe how freelancers interact with their financial tools and apps. Look for patterns and pain points they may not explicitly mention in interviews. Some potential observations may include the following:
- How often do freelancers check their financial apps?
- What features do they use most frequently?
- What frustrates them about their current financial tools?
Create user personas:
Based on your research, create a few user personas that capture freelancers’ needs, goals, and pain points. These personas should be based on your research findings and used as a reference throughout the design process.
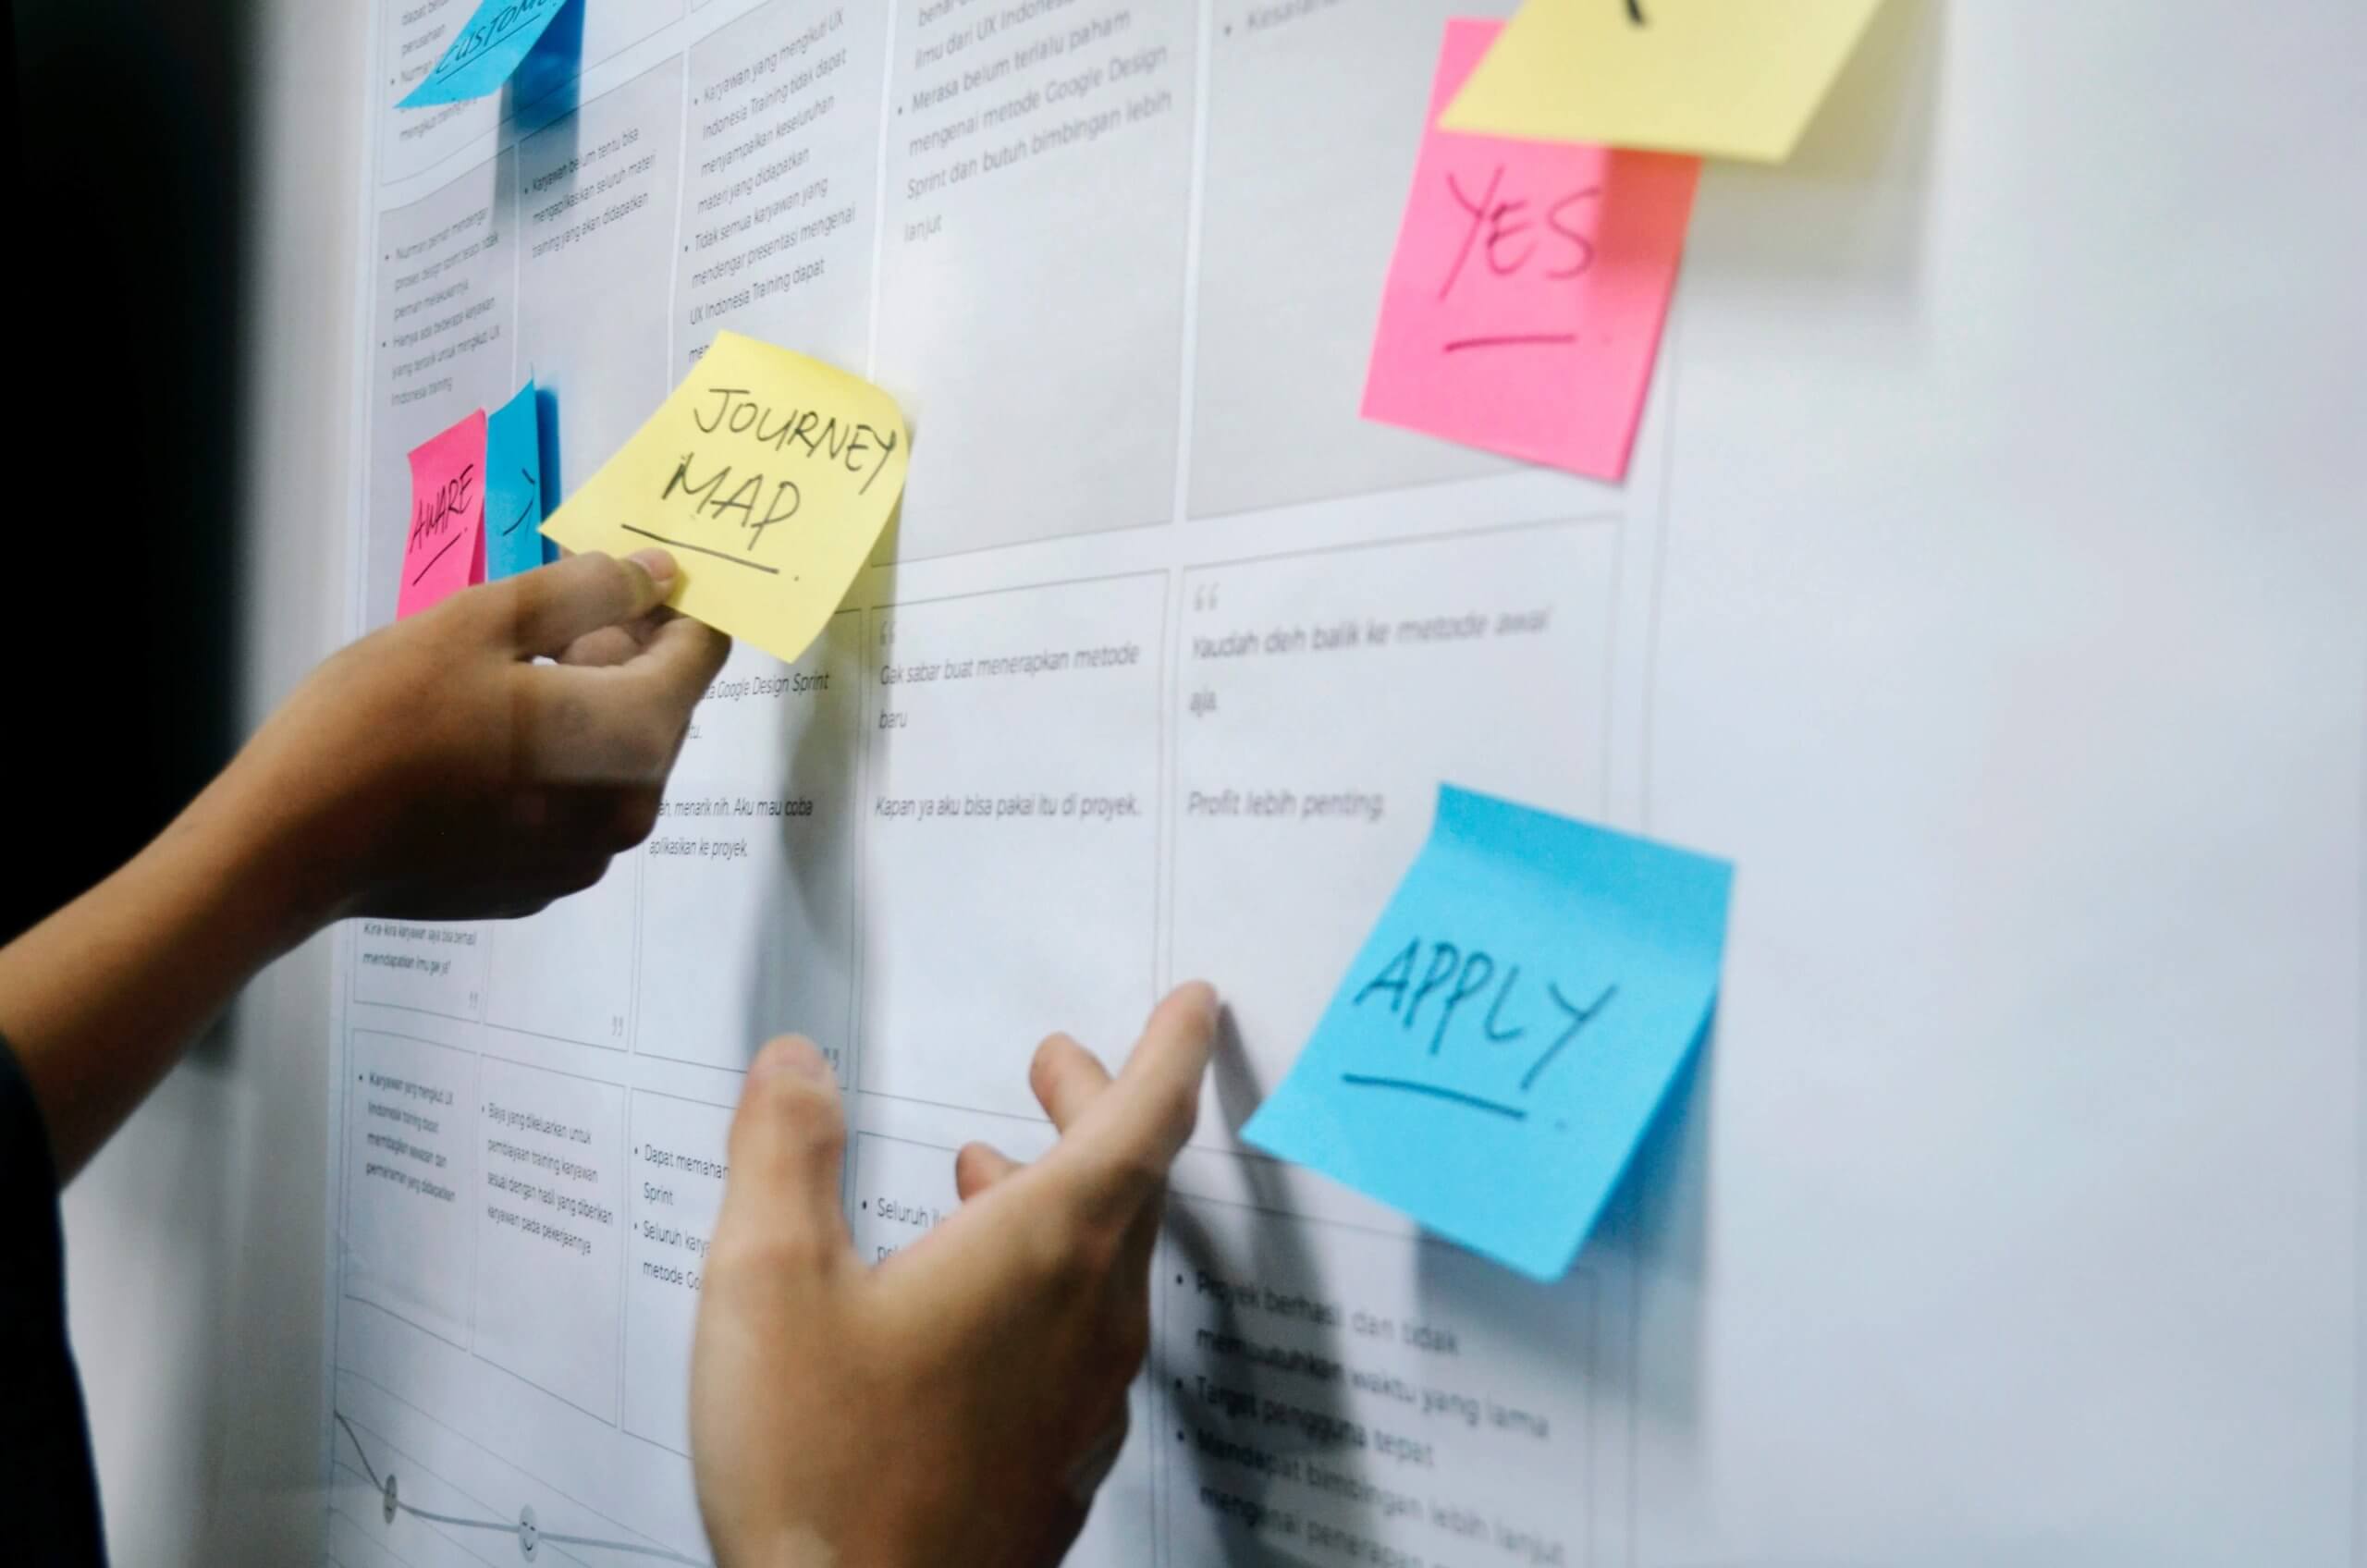
Map the user journey:
Map out the user journey for freelancers when it comes to financial management. This can help you identify pain points and opportunities to improve your experience.
Some potential steps in the journey may include:
- Tracking income and expenses
- Creating and sending invoices
- Saving for taxes and retirement
- Managing multiple bank accounts
Identify key insights:
Based on your user research, identify key insights and themes that emerged. Some potential insights may include the following:
- Freelancers struggle with tracking expenses and managing cash flow
- Many freelancers use multiple bank accounts for different purposes
- Time management is a critical aspect of financial management for freelancers
By following these steps and gathering insights from user research, you can develop a deep understanding of freelancers’ needs and pain points regarding financial management. This understanding can then inform the rest of the design process, helping you create a mobile app that truly meets the needs of your users.
Define
Once you’ve gained a deeper understanding of your users and their needs, it’s time to frame their needs as a problem statement. This is an essential step in the design thinking process, as it ensures that you’re focusing on the right problem and designing a solution that truly addresses the needs of your users. Once you have a problem statement, use it as a guidepost throughout the rest of the design thinking process. Keep it in mind as you ideate, prototype, test, and iterate, and make sure that your solution directly addresses the problem you defined.
These are some of the methods you can use for the Define phase:
- Analyse the insights and observations gathered during the Empathize phase to identify patterns and themes.
- Craft a clear and concise problem statement that focuses on addressing the needs of your users.
- Use the problem statement as a guidepost throughout the rest of the design thinking process to ensure that your solution is directly addressing the problem you defined
To define the problem statement for our financial app for freelancers, we need to ask ourselves some key questions:
- What are the critical pain points and challenges that freelancers face when it comes to managing their finances?
- What are our app’s most essential features and functions to address these pain points and challenges?
- How can we differentiate our app from other financial apps on the market and create a unique value proposition that will appeal to freelancers?
To answer these questions, we might conduct some additional research, such as:
- Analysing data on the financial habits and needs of freelancers
- Conducting surveys or focus groups with freelancers to get their direct feedback
- Studying other financial apps on the market to see what they’re doing well and where there are gaps we can fill
Once we have all this information, we can distil it into a clear problem statement.
For example:
“Freelancers struggle with managing their finances because they have irregular income streams, complicated tax situations, and difficulty separating business and personal finances. Our app must provide tools and resources to help freelancers track income and expenses, calculate taxes, and create financial reports. Additionally, our app should have a user-friendly interface that makes it easy for freelancers to stay organised and make informed financial decisions.”
This problem statement will serve as our North Star as we move into the subsequent phases of the design process. It will help us stay focused on the needs of our target users and guide us as we ideate prototypes and test potential solutions.
Ideate
Now comes the fun part: ideation. After you’ve determined the problem and gathered insights from the empathise phase, This is where the natural creativity comes in! It’s time to start generating ideas for solutions. In the ideation phase, there are no bad ideas; the goal is to think creatively and generate a wide range of potential solutions. Don’t be afraid to think outside the box and explore a range of ideas before narrowing down to the best. Use sketches, mockups, and prototypes to test and refine your thoughts until you have a solution.
It's essential to generate various ideas, even if they seem crazy or unrealistic.
Here are the methods for the ideation phase:
- Brainstorm features: Start by brainstorming a list of features useful for freelancers in managing their finances. This could include tools for tracking expenses, invoicing clients, setting aside taxes, and forecasting income.
- Create user scenarios: Once you have a list of potential features, create user scenarios to explore how freelancers might use them daily. For example, imagine a scenario where a freelancer needs to quickly check their account balance before making a purchase or paying a bill.
- Sketch out ideas: Use the user scenarios to generate ideas for how the app looks and functions. Sketch out rough designs for the app’s interface and key features, experimenting with different layouts and user flows.
- Get feedback: Share your sketches with other freelancers and financial professionals to get feedback on the usability and usefulness of the app. Use this feedback to refine your ideas and meet your target users’ needs.
- Choose the best ideas: Evaluate the sketches and feedback you’ve received to determine the most promising ideas. Prioritise the ideas that address the most pressing needs of your users while also being feasible to implement within your project scope.
- Refine and iterate: Use the chosen ideas as the basis for creating more detailed designs and prototypes. Test these prototypes with users to identify areas for improvement and continue iterating until you have a solution that meets the needs of your target users.
Some practical examples of features that could be ideated for a financial app for freelancers include:
- Expense tracking: A feature that allows freelancers to track their expenses and categorise them based on different criteria, such as project, client, or category.
- Invoicing: A feature that allows freelancers to easily create and send invoices to clients and track payment status.
- Budgeting: A feature that helps freelancers set and manage their budgets, providing them with a clear overview of their income and expenses.
- Payment gateway integration: A feature allowing freelancers to receive payments directly through the app without needing third-party payment platforms.
Remember, the ideation phase is about generating as many ideas as possible. Don’t worry about the feasibility of the ideas at this stage. The focus should be on generating diverse ideas addressing the problem.
Prototype
The fourth step in the Design Thinking process is to prototype a solution. This involves creating a rough draft of the solution to test with users. Prototyping doesn’t have to be a high-fidelity design; it can be something as simple as a paper sketch. The goal is to test the solution with users to see how they interact. So it can be a low-fidelity wireframe of the new login experience.
I like to start with paper sketches to quickly test out different ideas and then move on to digital mockups for a more detailed prototype.
Here are some tips for the prototype phase:
- Start simple: Don’t worry about creating a perfect prototype right away. Start with a simple, low-fidelity version of your solution, such as a paper sketch or a basic digital mockup.
- Focus on the user experience: Your prototype should be designed with the user in mind. Make sure the prototype reflects the user’s needs and pain points, and test it with real users to get feedback.
- Test and iterate your prototype: with real users and gather feedback to refine and improve the solution. Iterate on the design based on user feedback until you have a solution that meets the user’s needs and creates a positive user experience.
- Use the right tools: Choose the right tools for your prototype. This may include prototyping software, wireframing tools, or physical materials like paper and cardboard.
Remember, the goal of the prototype phase is to create a preliminary version of your solution that can be tested and refined. Don’t worry about creating a perfect prototype immediately; focus on creating a solution that meets the user’s needs and creates a positive user experience.
Here’s an example of how to implement the prototype phase for designing a mobile financial app for freelancers:
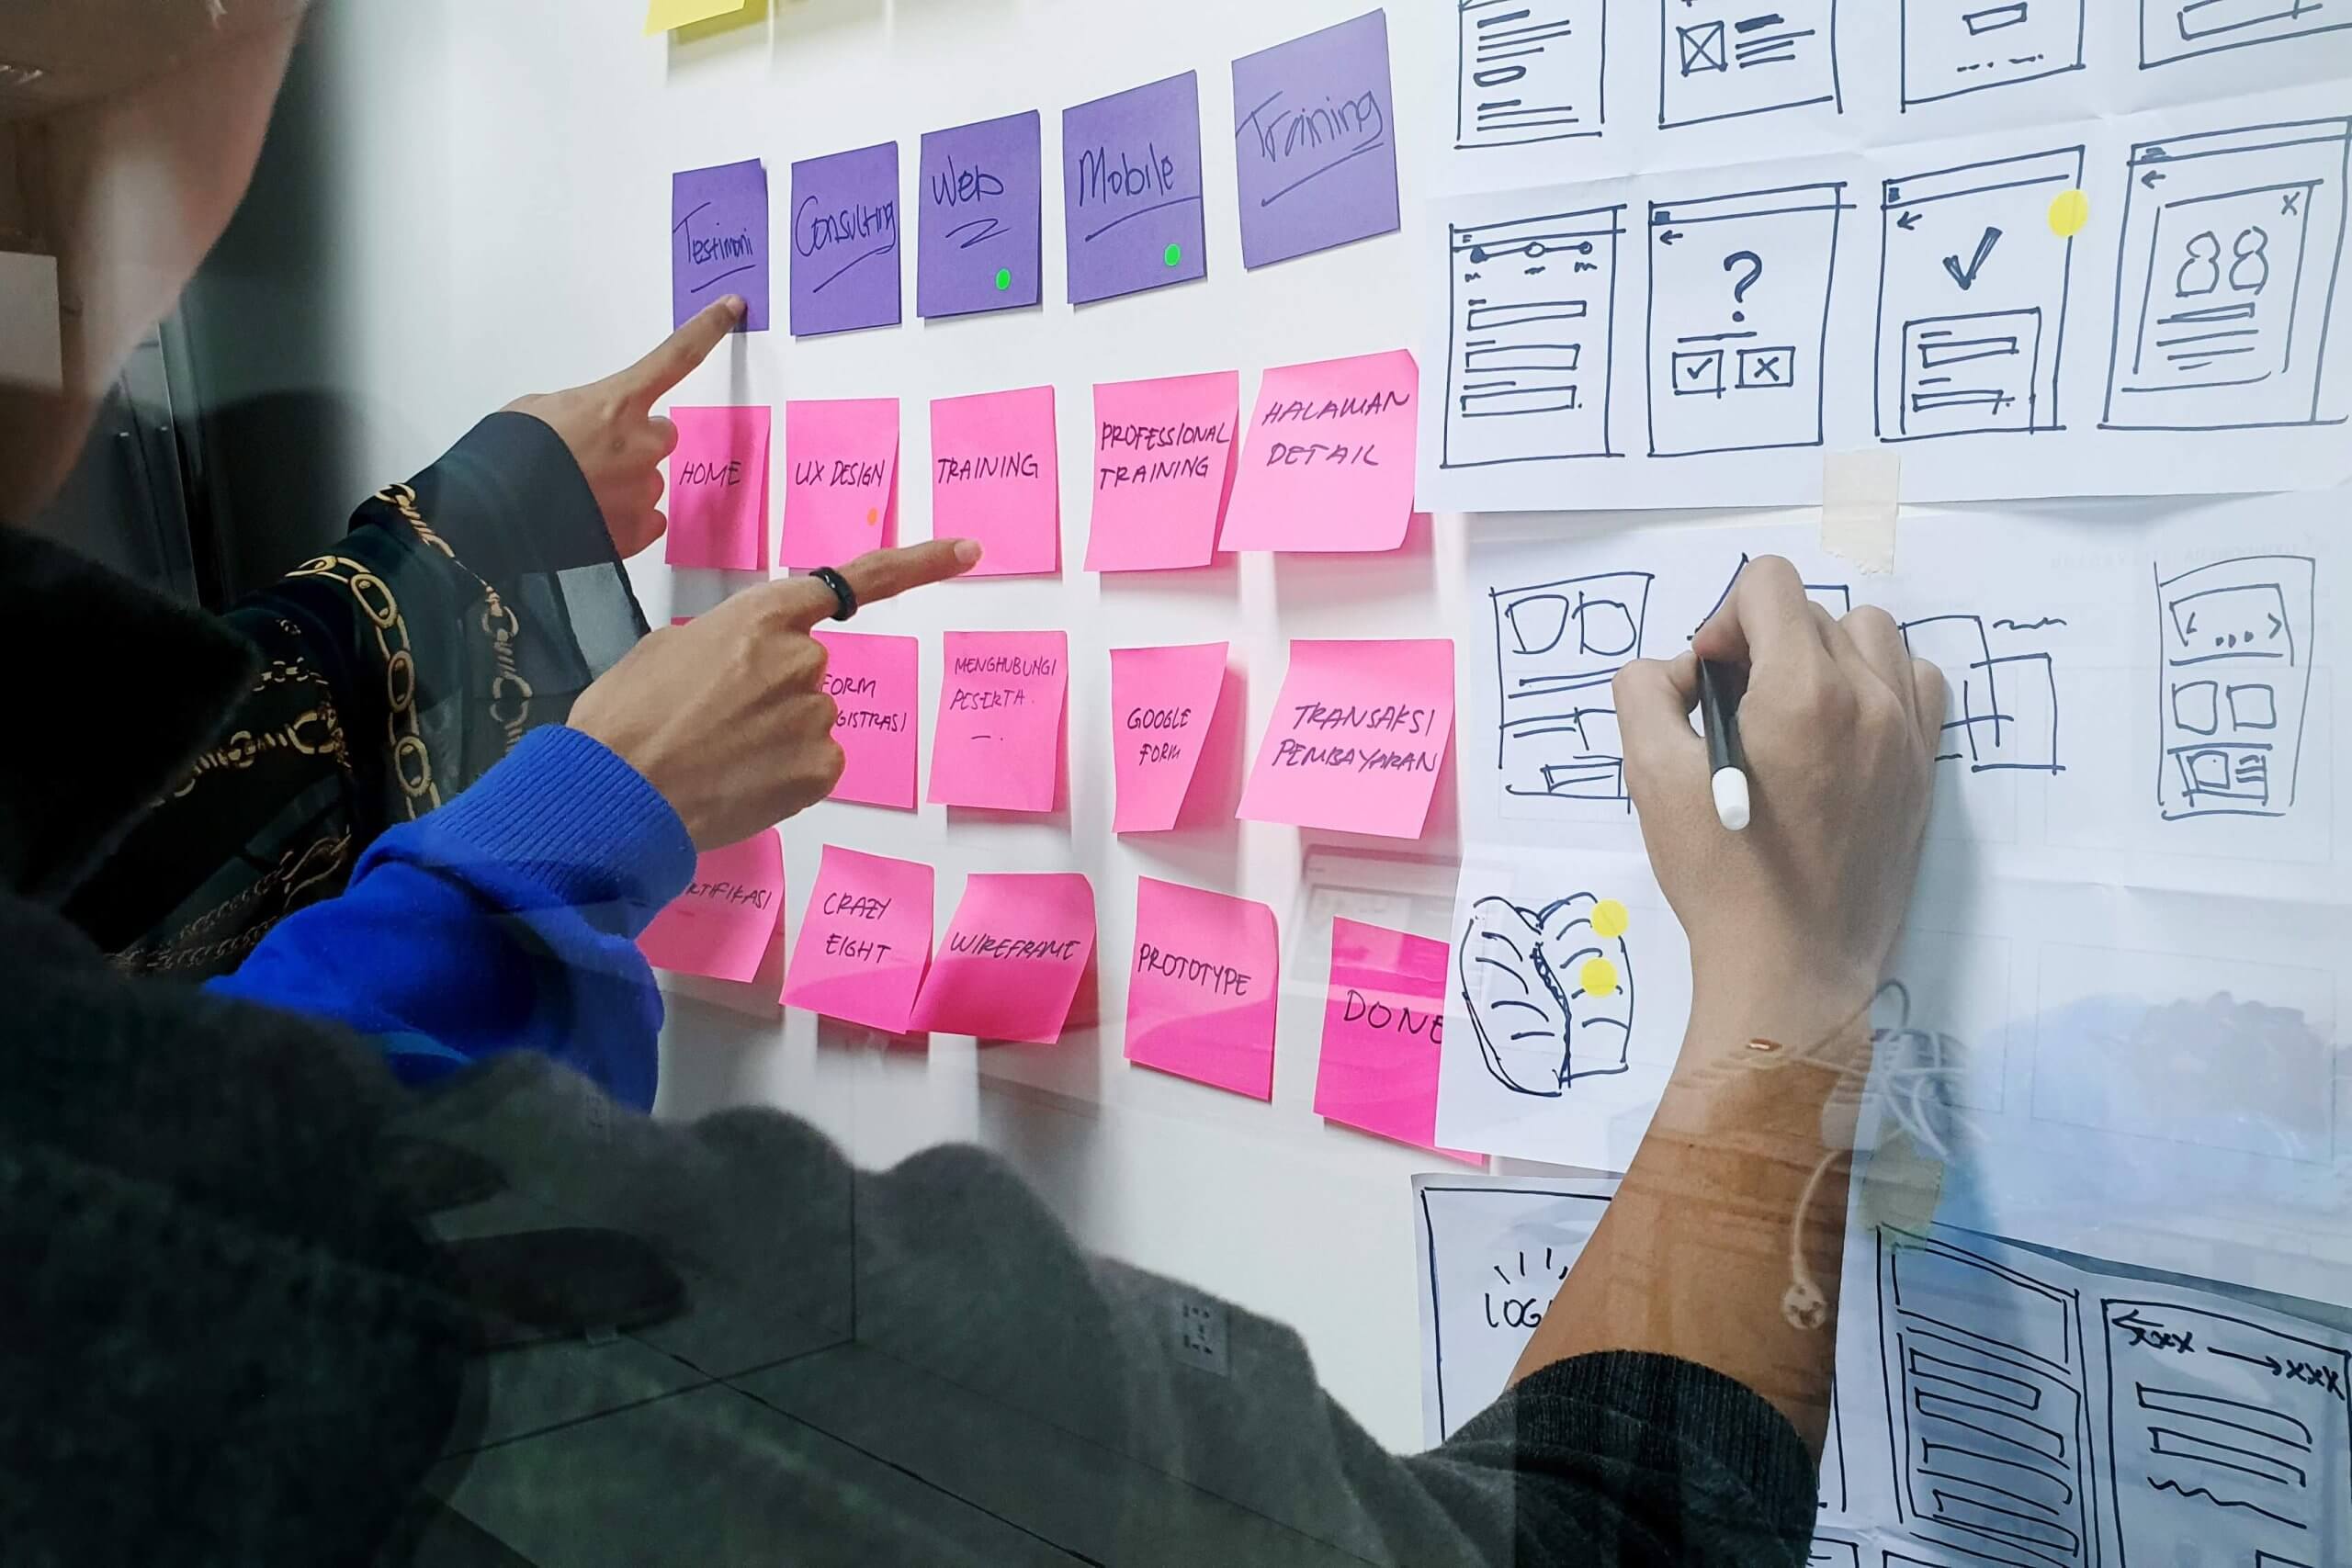
Brown paper prototype:
- Draw a basic outline of the app on a large sheet of brown paper. This can include different sections such as login, dashboard, transactions, budgeting, and account settings.
- Create cutouts of different features and functions that freelancers might need. For example, you could create cutouts for a budget tracker, invoicing tool, payment processing, and tax reporting.
- Place the cutouts on the brown paper in different app sections to see how they fit and flow together. You can use sticky notes to add notes or comments to each cutout.
- Use the prototype to have discussions with freelancers to gather feedback and ideas. Ask questions like “What do you think of this feature?” or “Is this something you would use?” Take notes on the feedback to inform the next iteration of the prototype.
- Iterate and refine the brown paper prototype based on the feedback you receive. You can add or remove features, change the layout, or adjust the user flow.
The brown paper prototype is a quick and easy way to test out ideas and get feedback from your target audience without investing too much time or resources in a more polished prototype.
Low-fidelity prototype:
- Create a basic wireframe of the app using a tool like Whimsical or Sketch.
- Add simple placeholders for images, text, and buttons.
- Test the app with freelancers to see if the layout and functionality are easy to understand and navigate.
- The home screen has a simple menu with options to view account information, invoices, expenses, and payments.
- When users select “invoices,” they are taken to a screen to view all their outstanding invoices. Each invoice is displayed as a clickable card with the client’s name, invoice number, and amount due.
- When the user selects an invoice, they are taken to a screen where they can view the details of the invoice, such as the services provided and the due date.
- From the invoice details screen, the user can select an option to send a reminder to the client or mark the invoice as paid.
- When the user selects “expenses,” they are taken to a screen where they can view all of their expenses. Each expense is displayed as a clickable card with the vendor name, expense type, and amount.
- When the user selects an expense, they are taken to a screen to view the expense details, such as the date, category, and notes.
- From the expense details screen, the user can select an option to edit or delete the expense.
- The payments section functions similarly to the invoices section, with clickable cards displaying payment information and the ability to view payment details or send client reminders.
This low-fidelity prototype would be created using simple sketches or wireframes to quickly iterate and refine the user interface and user experience before moving on to a higher-fidelity prototype.
High-fidelity prototype:
- Create a polished prototype with realistic graphics and interactive features using a tool like Figma or Sketch.
- Use real data and content to create a more immersive experience.
- Test the app with freelancers for feedback on the design, functionality, and overall user experience.
Here are some examples of what a high-fidelity prototype for our mobile financial app for freelancers might look like:
- The home screen could feature a dashboard with an overview of the user’s finances, including a breakdown of their monthly income and expenses and any pending payments or bills.
- Budgeting tool: A budgeting tool could allow users to set monthly spending limits for different categories, such as food, housing, transportation, and entertainment. The tool could also provide alerts when users approach or exceed their budget.
- Invoicing feature:Invoicing could be a crucial part of the app for freelancers. This could allow users to generate and send professional-looking invoices to clients directly from the app, track the status of invoices and receive notifications when payments are received.
- Payment tracker:A payment tracker could help users track all their incoming and outgoing payments in one place, including payments from clients, payments to vendors or suppliers, and recurring bills.
- Investment management: An investment management feature could be helpful for freelancers looking to save or invest their money. This could allow users to link their bank and investment accounts to the app, track their investment portfolio, and receive personalised investment advice based on their financial goals and risk tolerance.
- Security features: As with any financial app, security is paramount. A high-fidelity prototype should include two-factor authentication, data encryption, and biometric login options (e.g. fingerprint or facial recognition).
These are just a few features that could be included in a high-fidelity prototype for a mobile financial app for freelancers. The goal of a high-fidelity prototype is to give users a realistic sense of what the final product will look and feel like, so it should be as visually and functionally polished as possible.
Remember, prototyping aims to test and refine your ideas before you invest too much time and resources into development. By creating different types of prototypes and testing them with your target audience, you can gather valuable feedback and insights to inform the next phase of the design process.
Test
After creating a prototype, testing it with real users is important. Testing allows you to get feedback on your solution and identify areas for improvement. During this phase, you’ll want to gather user feedback to ensure your solution is effective for everyone.
Conduct user testing: Have a group of users test your prototype and provide feedback on their experience. Ask them questions about what they liked and didn’t like, what was confusing, and what could be improved.
A/B testing: Try out different versions of your solution with different groups of users to see which one performs better. For example, you could try out two product page layouts and see which leads to more sales.
Gather analytics data: Use tools like Google Analytics to track how users interact with your site. Look for patterns and trends that could indicate areas for improvement.
Different testing methods, including user interviews, focus groups, and usability testing, can be used. I like to use usability testing, where I observe users interact with the prototype and collect data on how they use the product, what they like and dislike, and where they have difficulties.
Implement and iterate
Once the final design is complete, the next step is implementing it and building the product. This involves working with developers and other team members to turn the design into a functional product that users can use. It’s important to note that the UX design thinking process doesn’t end when the product is launched. As users interact with the product, it’s essential to continue to gather feedback and iterate on the design to make it even better. This is known as the “iterative design” process, where the product is constantly refined and improved based on user feedback and data.
It’s important to remember that the design thinking process is not linear. You may find yourself going back and forth between phases as you continue to iterate and refine your solution. And that’s okay!
The challenges
While the Design Thinking process has been a game-changer for my design work, it’s not without its challenges. One of the biggest challenges is getting buy-in from stakeholders. In some cases, stakeholders may not understand the value of the Design Thinking process and may be resistant to using it. In these cases, it’s essential to educate them on the benefits of the process and how it can lead to more effective solutions.
Another challenge is balancing the needs of the user with the needs of the business. While it’s essential to create solutions that meet the user’s needs, it’s also important to create solutions that align with the business’s goals. This can be a delicate balancing act, but it’s crucial for creating user-centered and effective solutions for the business. Despite these challenges, I’ve found that the Design Thinking process is worth the effort. It’s helped me create more effective, user-centered, and ultimately more successful solutions. If you’re a designer, I highly recommend trying the Design Thinking process. It may take some time to get used to, but I promise it will be worth it in the end. Remember, the key to success in any design project is staying focused on the user and their needs and be willing to iterate and improve your ideas based on feedback. So go forth and apply these Design Thinking principles to your projects, and see what unique solutions you can come up with!
In conclusion, the UX design thinking process is critical to creating products that provide users with a seamless and enjoyable experience. Following the steps outlined in this blog post, you can clearly understand the problem and user needs, generate ideas and solutions, create a prototype, test and refine the solution, create the final design, and implement and iterate on the product. I hope this post has given you a better understanding of the UX design thinking process and how it can be applied to your projects. Happy designing!
Share the article
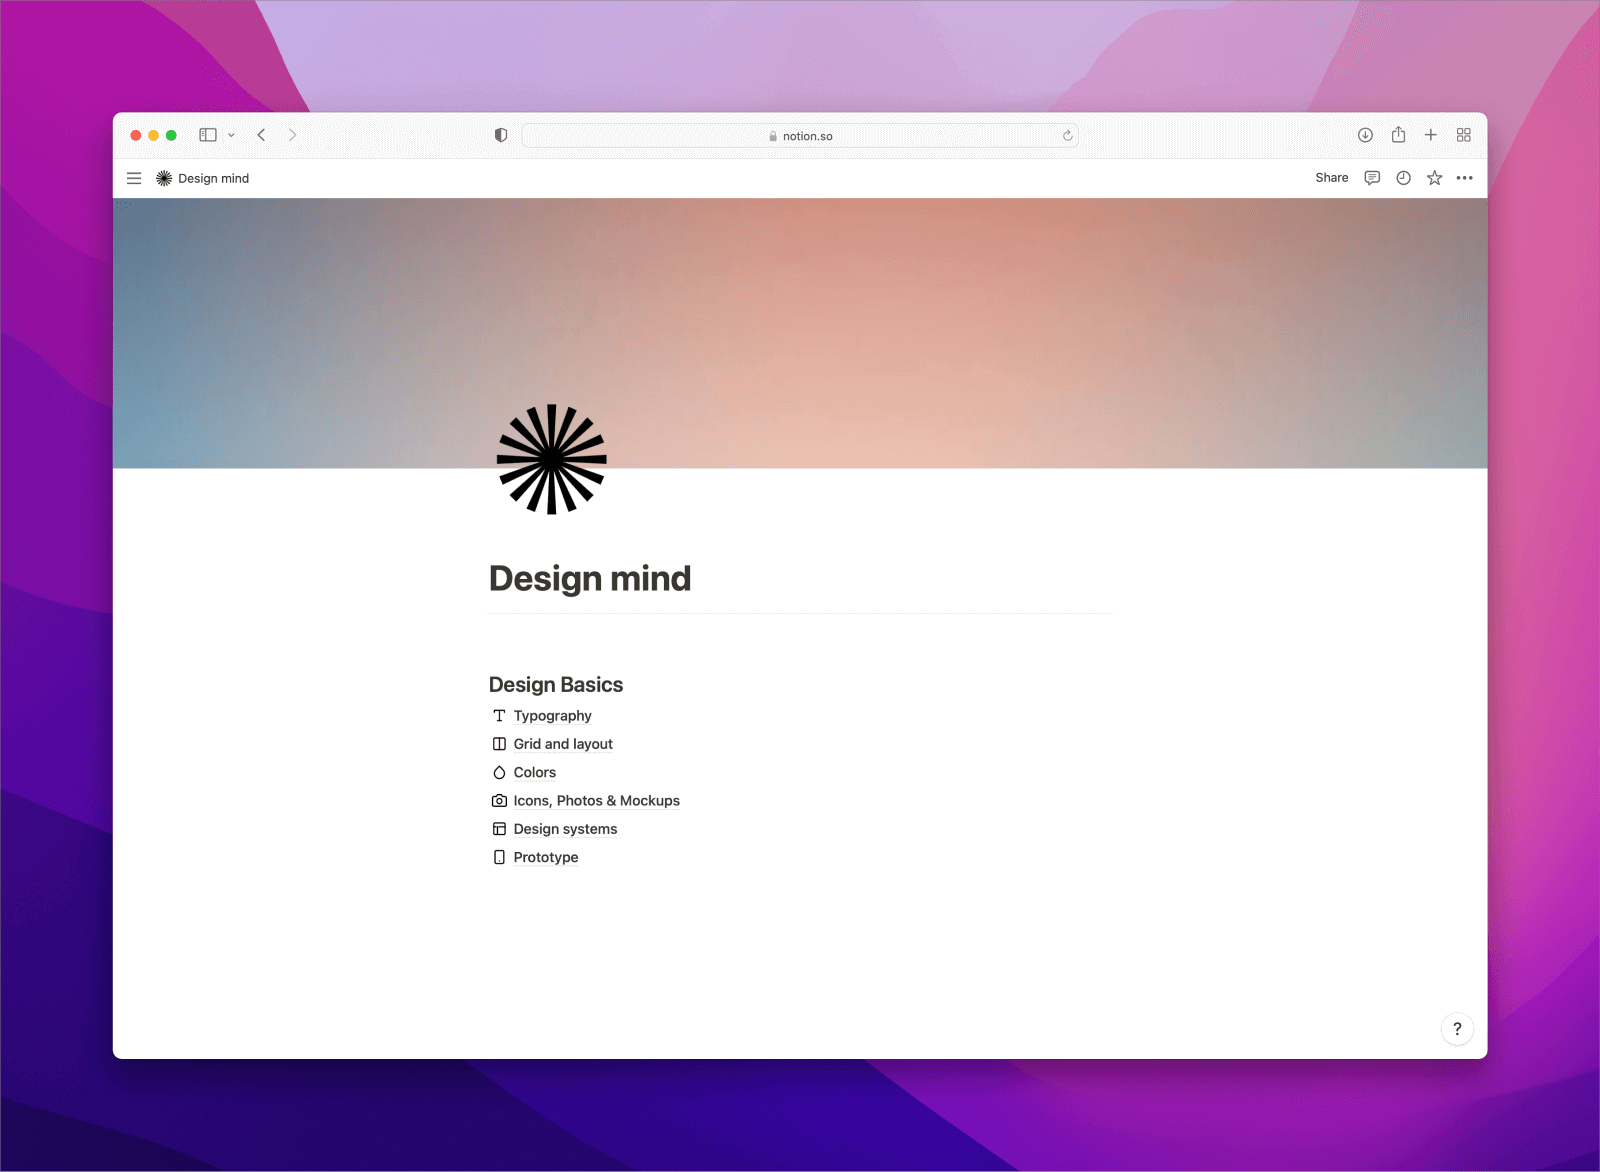
My best UI/UX Design resources
This is a Notion library, in it you'll find a collection of the Design Basics with the best resources, articles, videos and books. That I have collected over the past 11+ years.
I respect your privacy. You are subscribed to my monthly newsletter. Unsubscribe at any time.
Comments