
— BY REMON — IN Design tips
Create Mood & Style Boards to collaborate hard-to-express ideas
Mood boards are created in the first phase of the design process. The purpose of a mood board is to establish the atmosphere and create a story that responds to the feelings of the target group. The main aim is to convey the artistic direction and vision to the client.
It is created by referring to the objectives from the KickOff briefing. The ultimate goal is to translate this into specific existing products, such as a website. Interior designers often create mood boards. They first create a mood board with cuttings from magazines or fabrics to convey a certain atmosphere and feeling. This is to first gauge what the client is looking for. It serves as an atmospheric image to visualise abstract ideas in concrete terms. The board is perfect for conveying thoughts without going into functionalities or other concrete details, and is also often used by designers who create physical products. A good example of this is the work of the designers at Lavazza: in order to present their unique brewery experience product, they created the mood board below.
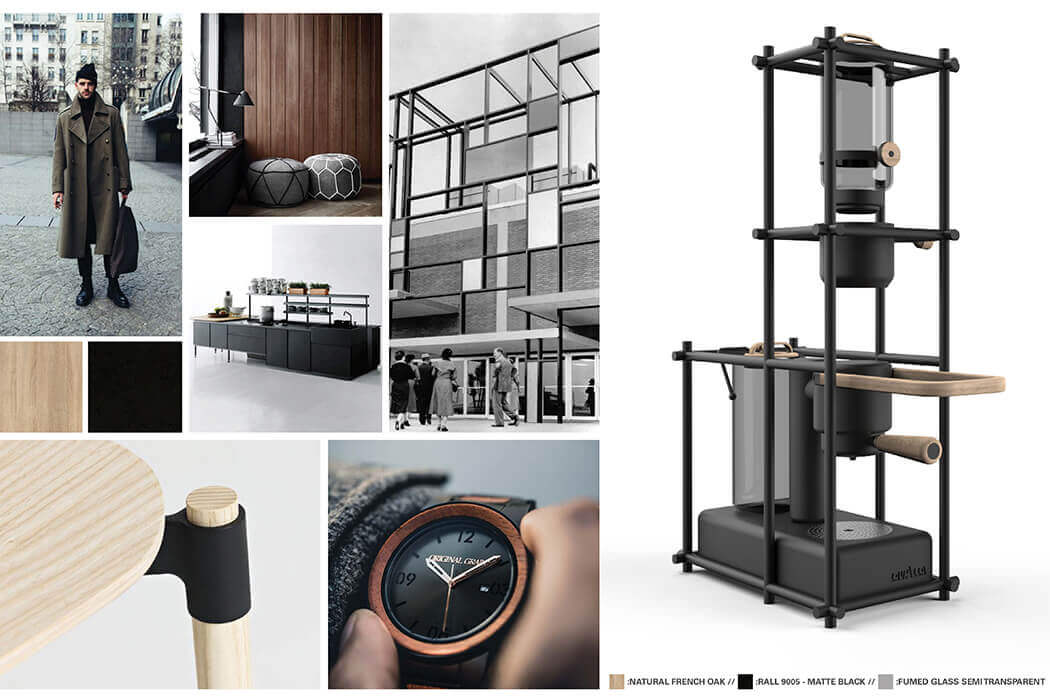 Mood board: GRID-Espresso – Lavazza Italian coffee
Mood boards vs. Style boards
The purpose of the style board is to translate the abstract atmosphere of the mood board into a concrete new website. While a mood board consists of abstract images that are primarily meant to convey an emotion, a style board is made on the computer. In other words, I don’t make physical boards: you can quickly choose a design direction and determine what the client is looking for. Style boards should quickly communicate ideas. The style boards I create contain self-made designs based on the style of the mood board. If you use images from other designers, the client will often think that you created them yourself.
Style boards offer more details about the look and feel than mood boards. That’s how you can quickly test whether the style you have in mind connects with the target group and the client’s vision. A style board is built up from small user interface components and concept ideas for typography, colour, composition, icons, and photography. In this way, you can show an image of the design you have in mind. In addition, keeping an open dialogue with the client is important. It is often better for clients to give feedback using something visual rather than having to express it in words. The use of words alone can lead to other associations – what may be a “luxury” look and feel for you, can be something completely different for them. Furthermore, a style board shows that you have understood the objectives from the briefing.
How to create a mood & style board
Creating a Mood Board
Determining a visual concept
When creating a mood board, it is best to draw up keywords that best describe the brand, product, or service. To do this, I have clients fill in a Kickoff Briefing in advance so they can tell me more about the brand values that they want to convey to the target group. For example, the following keywords can be used for a fashion shop targeting young people:
- Minimal
- Fashion
- Urban
Collecting and finding existing material
At this stage, your mood board does not have to contain any self-made design elements. The board should evoke certain feelings and determine which ideas work best. Start looking for existing materials, for example through online platforms like Pinterest, Behance, Dribbble, and Savee, but also print magazines and journals. When collecting material, I always look for graphic design or specifically typography instead of web design. Graphic design is much older than web design, and by including these examples, you can create unique designs rather than copying web designs from others. This is to prevent the client from thinking that the images are your original work. By showing other media examples, you put more emphasis on the styles you have chosen. You can drag all the material you come across to your project folder on the computer or into Figma. Still, dragging everything into this folder can become messy, so remember to keep the folder neat.
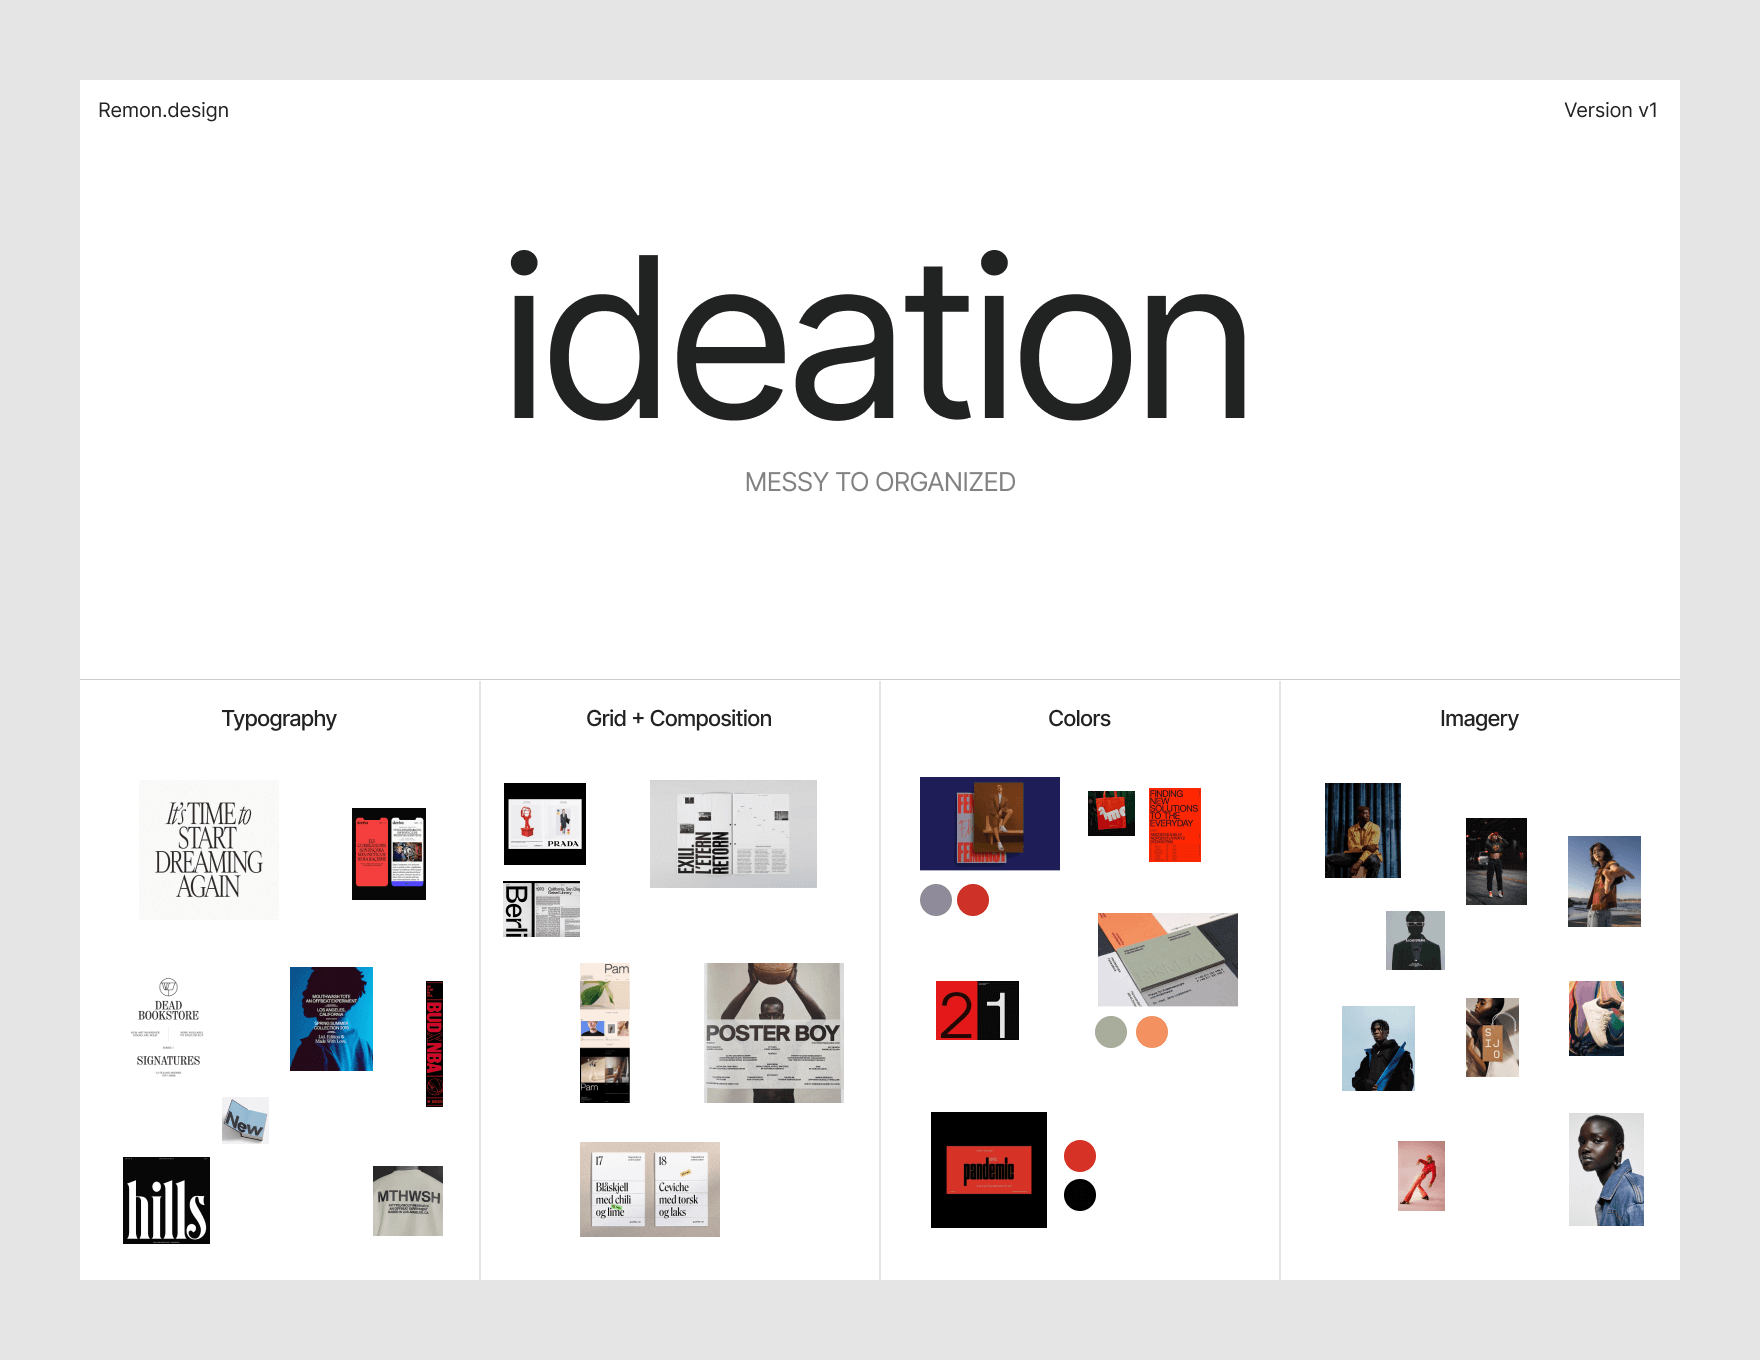
Going from messy to organised
It’s a familiar scene: you pick up your Beats by Dre Bluetooth headphones, look up your favourite Spotify playlist, and turn up the music volume while taking a sip of your freshly made hot coffee. Then you start looking for inspiration, open Pinterest, and start screen shotting everything you like. Before you know it, you have a new folder full of all kinds of inspiration images for your mood board. Looking for inspiration is the easiest part; anyone can open Pinterest and start collecting images. Still, you’ll often end up with a folder full of inspiration that has no structure and does not look presentable for clients. That’s why it’s important to stay organised. Only after that do I import all my inspiration into Figma. I’ll select all files more specifically by placing them in one of the categories below. I always set up the following categories for myself when I’m looking for inspiration:
- Typography
- Grid + composition
- Colours
- Imagery/photography
Before I place them in these categories, I always ask myself the following questions: What does this inspiration image trigger for me? Why does this typography work well? Why is this composition in balance? What do I feel when I see the photography? What colours appeal to me and why? Then I create an artboard in Figma where I place it in the right category. Example of how to organise the design inspiration in the categories
I create this in Figma and then drag the inspiration into the right category. After you have divided and analysed the categories, you copy and combine them to your own taste. Take a grid and some colours and start combining with different fonts. By mixing different things together, you can create a unique design direction. You then use this to create your style board.
Creating a style board
Once your mood board is ready, you can create the style board based on the inspiration of your mood board. To design the style board, you can work out the following elements in a Figma artboard:Typography ,Imagery, Colours, Other elements for branding, Basic elements like h1, h2, h3 body text and buttons. You make an artboard for web and mobile, which you can quickly design from micro to macro and fine-tune to get the right style. You can make a printable A4 size, so that it is always easy to print for the client. Your style board can look like the following when using the keywords we mentioned before: minimal, fashion, urban. If the client already has photos, texts, or a logo, you can also include these. Otherwise, you can also temporarily look at the competition for the texts so that it looks even more realistic.
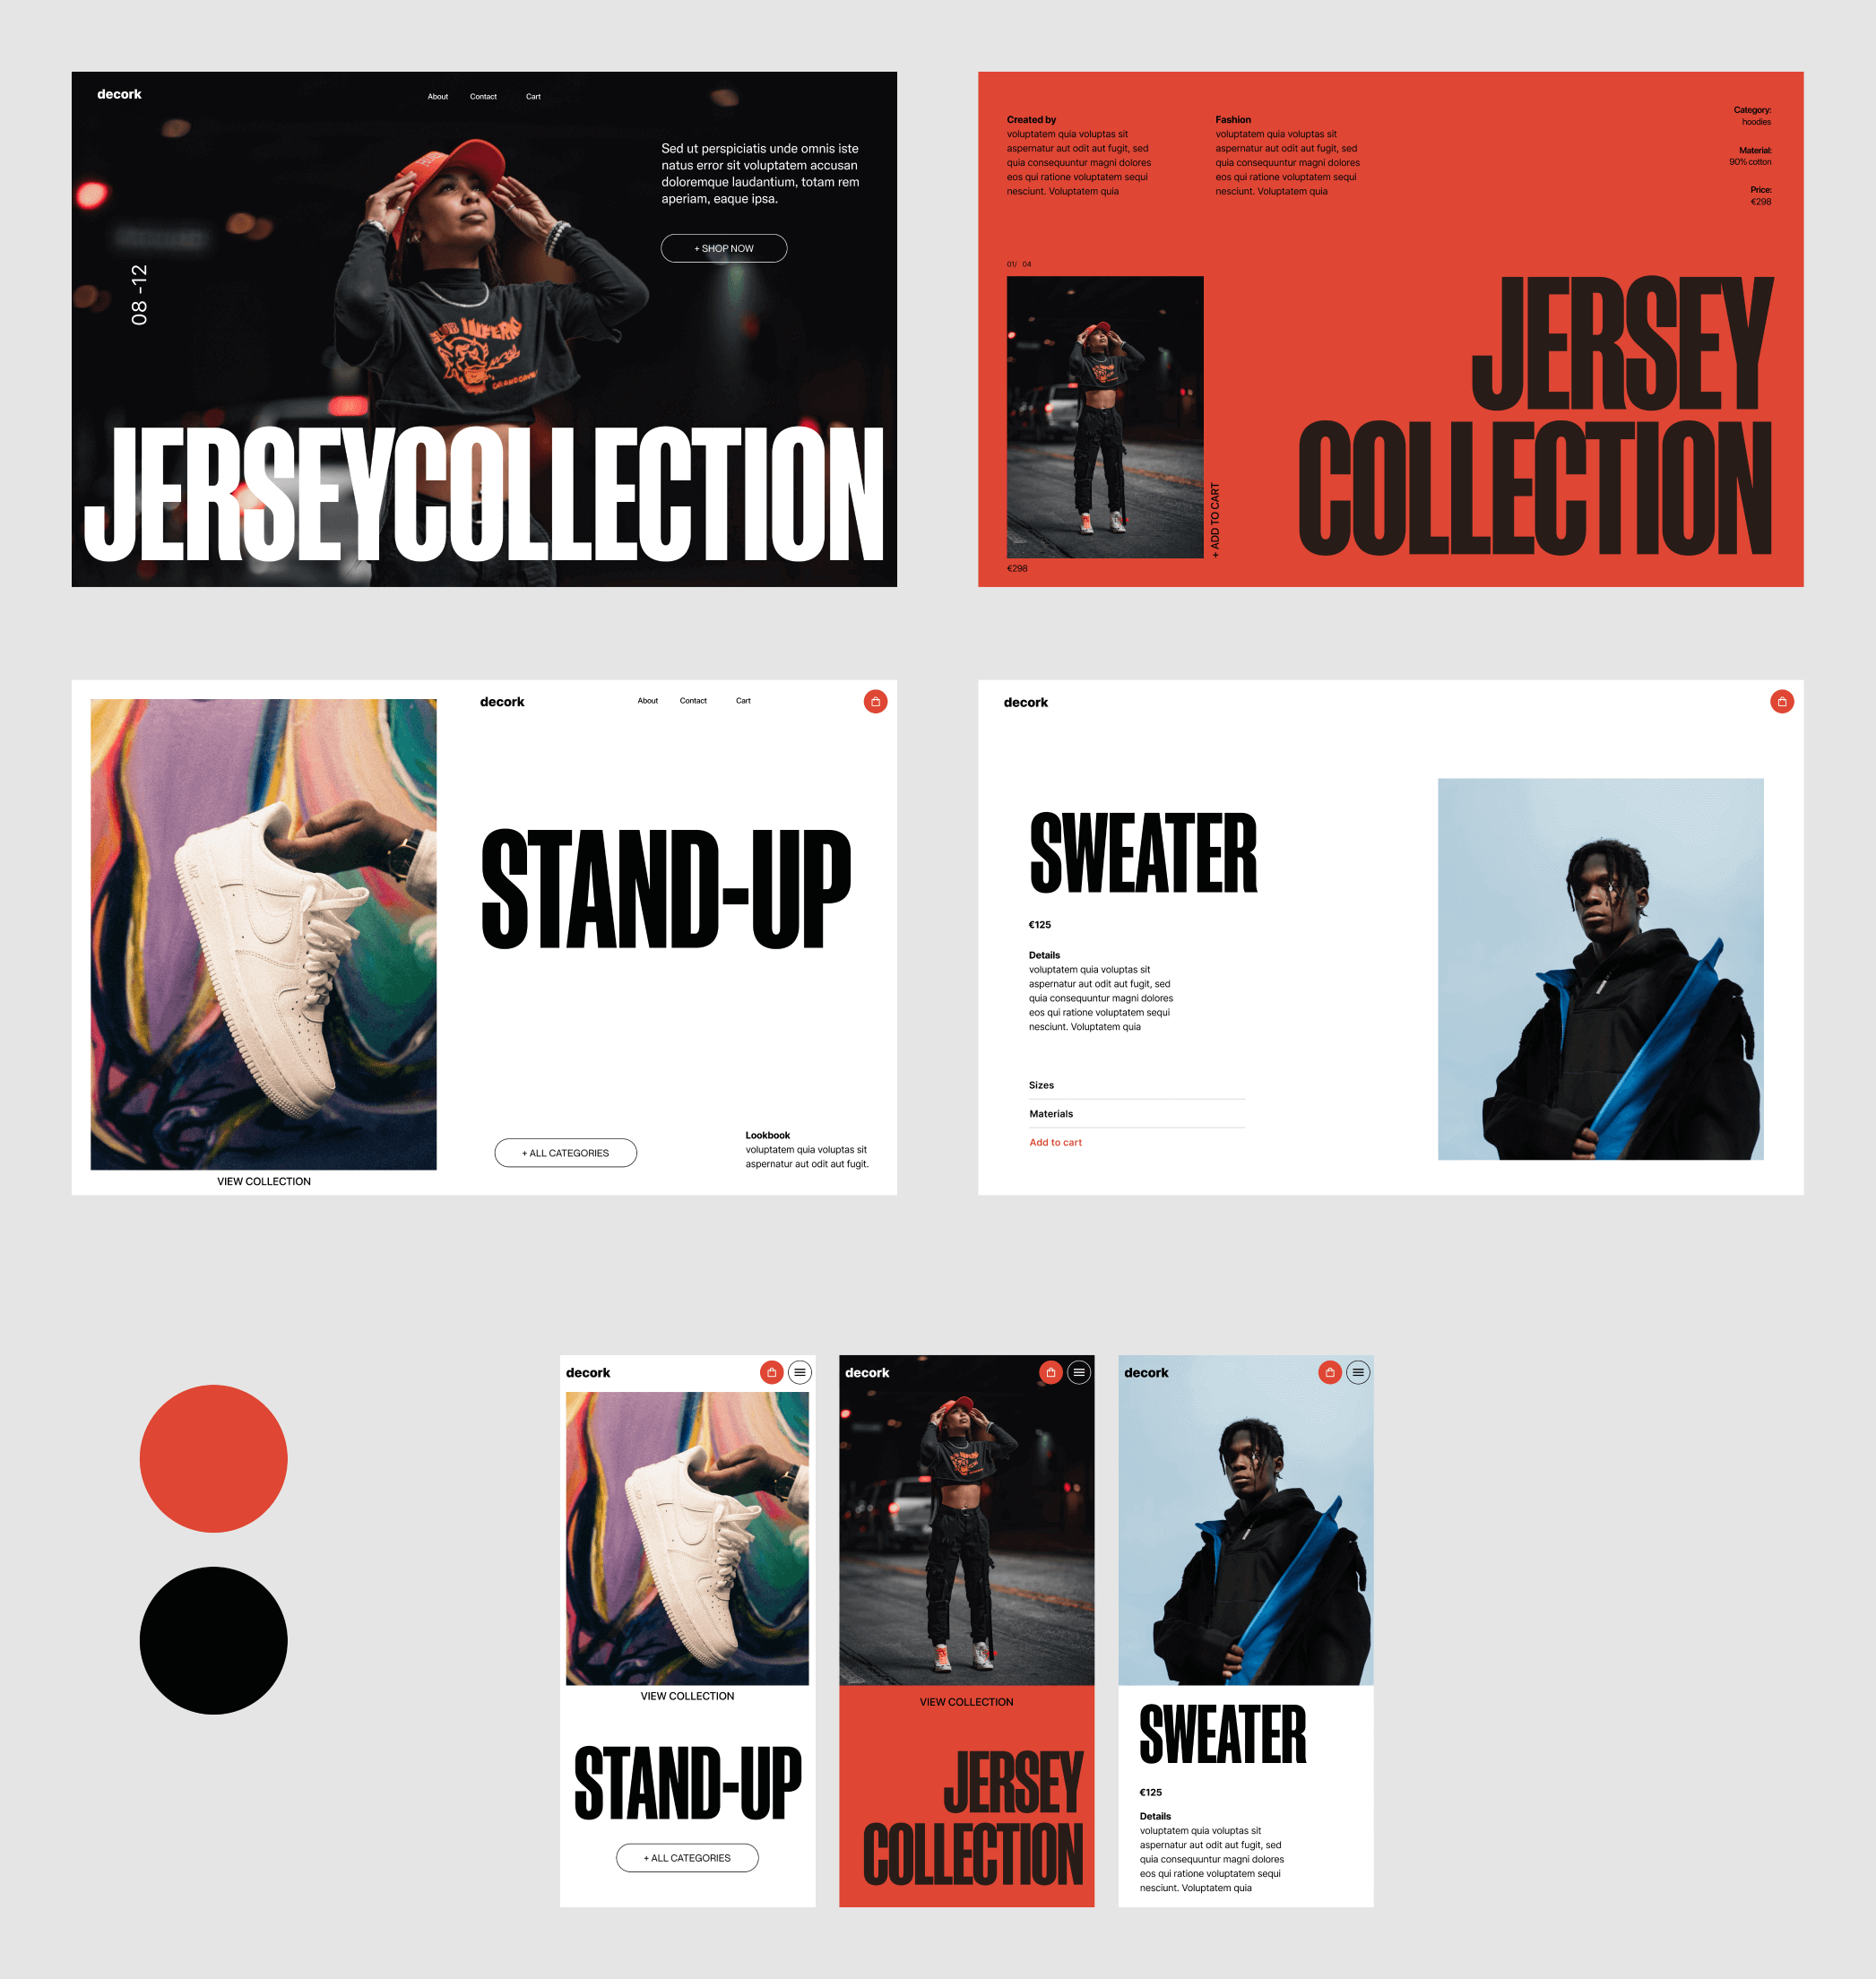 Style boards concepts for e-commerce design
By using these artboards, you can quickly test the look and feel of the final design with the client to see if it meets their expectations. If it doesn’t, you can start over. If it does, you can continue from these artboards to develop the final pages. This is how you can present different versions to the client.
Share the article
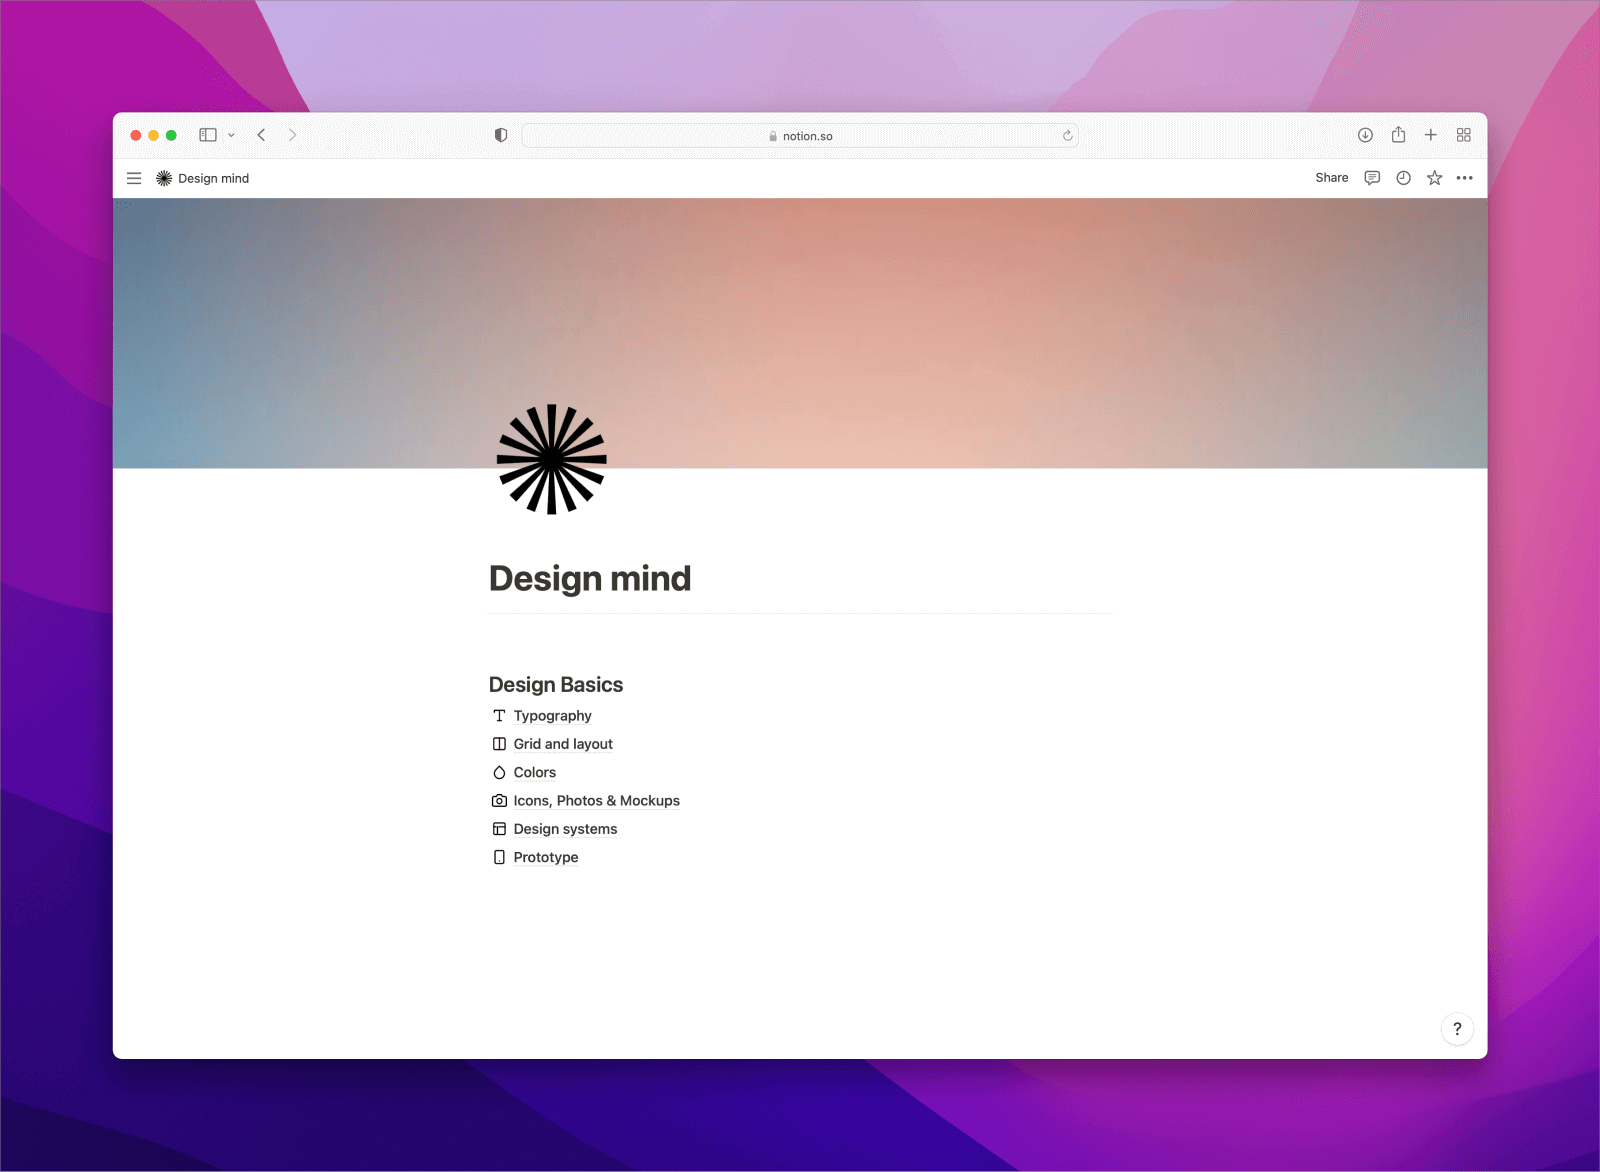
My best UI/UX Design resources
This is a Notion library, in it you'll find a collection of the Design Basics with the best resources, articles, videos and books. That I have collected over the past 11+ years.
I respect your privacy. You are subscribed to my monthly newsletter. Unsubscribe at any time.
Comments
Thank you for sharing your mood & style board tips! I often make the mistake of skipping this step when doing personal projects and I still get surprised if I get stuck in the middle of it because what I’ve done so far isn’t giving